Pinterest (Sticky Post)
Mar 8th, 2014 by Antoinette
Feb 14th, 2014 by Antoinette
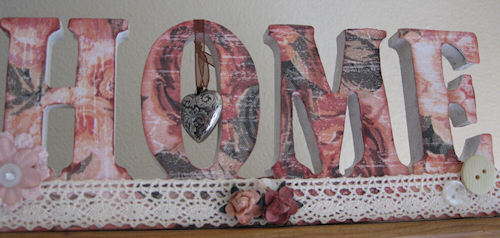
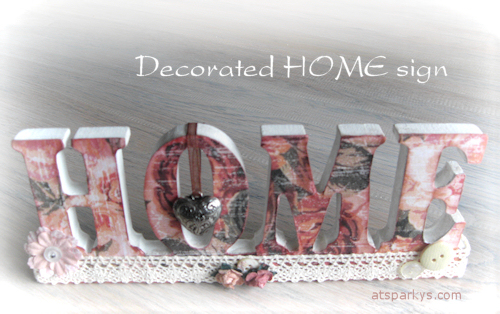
As promised, here is the second sign I decorated.
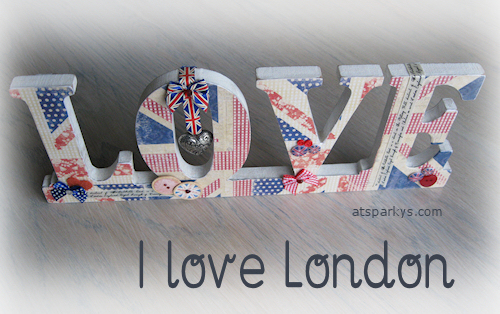
When I saw the blank sign in the shop I decided to decorate it for Valentine’s Day… but then I thought: What do I love most (apart from family and furbabies)… LONDON of course.
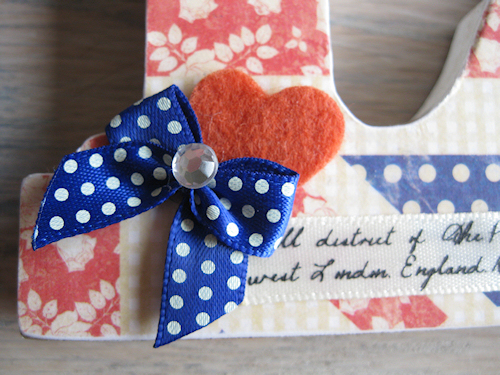
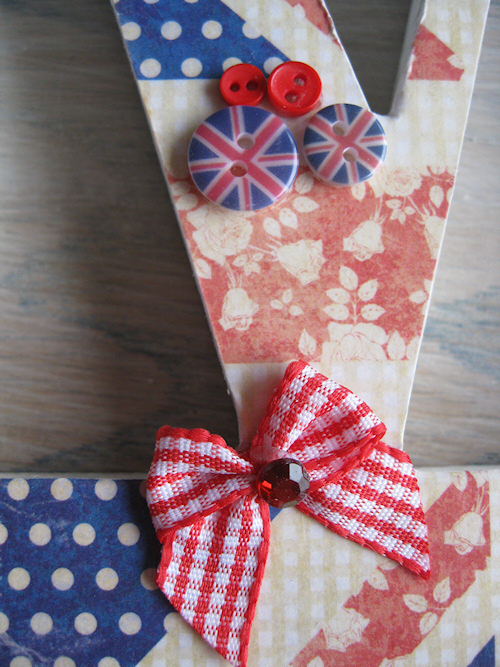
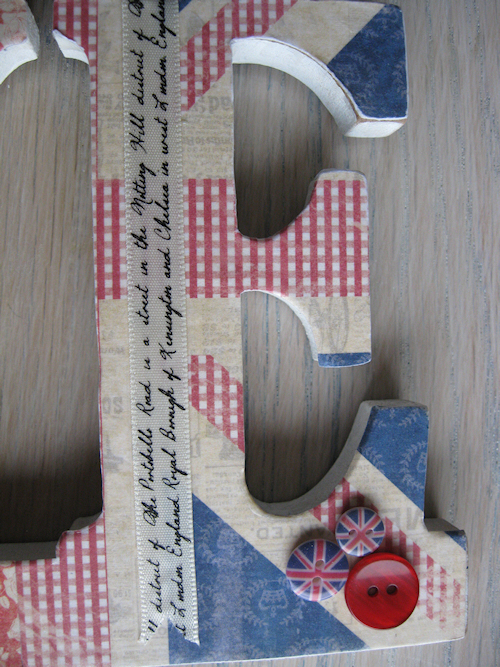
Finally a chance to use the Portobello Road collection from Papermania. I love the papers, buttons, bows and, oh… everything in this collection! I also bought the stamps, but couldn’t use them on the sign, so now I have to create a scrapbook layout as well, these items are too cute not to use! 🙂
If you missed my previous post, check the HOME SIGN post for instructions on how to decorate a sign (I’m no expert, so it’s only MY way of doing it!).

All in all, I’m over the moon with how it turned out. Bonus: a sign I can keep for myself and not give away 😀
Feb 9th, 2014 by Antoinette
For years I wanted to do something artsy, and I mean using my hands and not on the computer.
Glue and me don’t go together though, so I’ve started many projects only to abandon them in different stages of construction. Many different stages, but never finished!
When I stumbled upon the cutest signs at a store (the equivalent of the dollar store, I suppose) I knew this was it.. now or never.. so I bought them and started fumbling.
It certainly was trial and error, but I’ve learned from my mistakes and am really happy with the results. More signs are being worked on, hoping to show them off soon 🙂
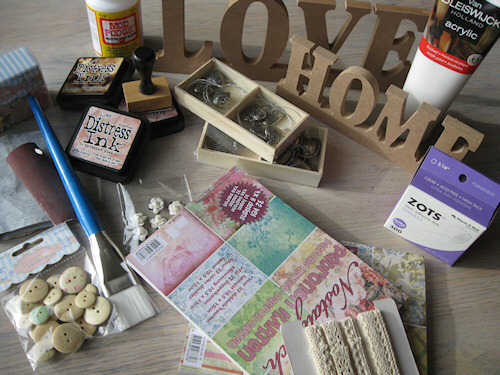
These are some of the things I used for the signs. You can pick whatever (scrapbooking)paper you have. If you’re like me, your supplies are more than enough for loads of signs 🙂
Supplies I used:
Embellishments
First I painted the sign white. Used the small brush to get into the tiny spots that needed covering and the large brush on the front and back, so you get even strokes.
You don’t have to paint the front, but I wanted to make sure that – if by accident the paper wouldn’t cover the sign completely – you would still see a white sign and not the original brown.
Let it dry completely. Although the paint I used seemed to dry very quickly, I wanted to be sure it was really dry before I started adding things.
The second hardest part: deciding which paper(s) to use.
You could cover the complete sign with only one paper, but I wanted to do the letters seperately.
For the sign in the pics I used one paper, but cut the letters one by one, making sure that the pattern was not connecting to the next letter.
I’m now working on another sign for which I’ve used two sorts of paper, the colours match but the pattern is different. Or you can go wild and use a totally different paper for each letter.
It’s up to you, it’s YOUR masterpiece you’re creating 🙂
The hardest part: tracing the letters and cutting them out. So many tiny curves and twists, this wasn’t crafty as I imagined, this was a chore!!! This was the point where I wished for an ‘undo’ button!
I used sanding paper to smoothen the edges of the paper (to get rid of any cutting marks) and at the same time roughen up the edges to give it the ‘old paper’ look. Then I inked the edges with the distress ink.
Once that is done, the fun part begins!
Cover the sign with Mod Podge and stick the paper to the letters. Not pressing too hard at first, so you can still reposition the paper until you’re satisfied.
Once that is completely dried, cover everything with Mod Podge again, thus protecting the paper.
Then look at your embellishment supplies and start putting items on your sign – don’t attach them yet, just put them on, change positions, turn them a bit to the left or the right, add another item and fiddle along until you like what you see.
Then you can use the glue dots, adhesive tape, glue or Mod Podge to attach them to the sign.
Et voila:
A gift for a dear friend of mine 🙂
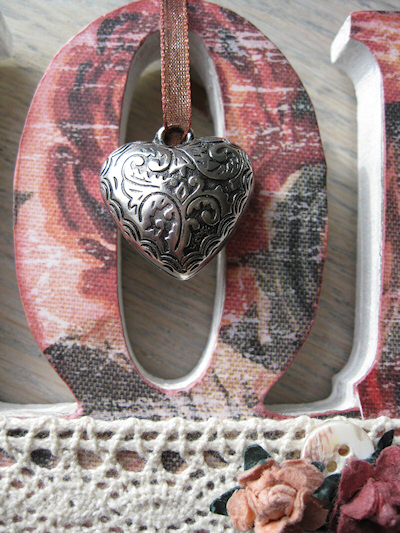

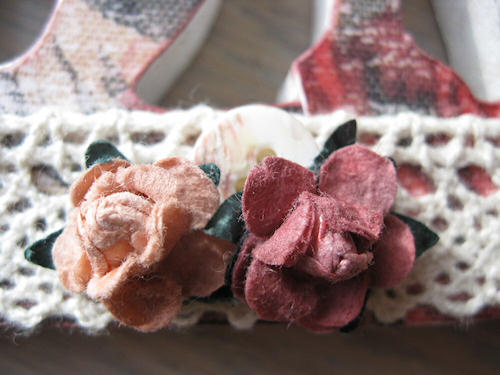
The tiny roses in the last pic were white, I’ve used Distress Ink (Tattered Rose and Victorian Velvet) to colour them.
I’m now working on the ‘Love’ sign. Thought that was appropriate with Valentine’s Day on the way, but then I thought of something totally different. Brilliant, even if I say so myself 😀 Almost finished, just need to add the finishing touches.
Watch this space!
Feb 8th, 2014 by Antoinette
One thing that is like an insurmountable hurdle to me is transferring the pics from my camera to the computer, resizing them and getting them online. I don’t know why, well.. I do know why, because it’s a timeconsuming job, especially the resizing. Then again, once it’s done, I always think: hmm, that wasn’t so bad. But still I keep postponing the task, and that results in a post like today’s: Oliebollen and Appelflappen in February.
In Holland it’s a New Year’s Eve custom to eat oliebollen (literal translation is oilballs) and appelflappen (apple’flaps’) and they are delicious! You can buy them everywhere from the end of November: bakeries, supermarkets, grocery stores and special ‘oliebollen stalls’, but the very best are the homemade ones. It’s a lot of work and because hubby usually works that time of year (and I didn’t feel like baking on my own), we’ve bought ours for several years. But this year hubby had a few days off and we decided to give it a go.
On December 30th, Manon and Sebastian helped peeling, coring and slicing the apples, and then I covered the slices with sugar and cinnamon, hubby baked them and I covered them with the sugar/cinnamon mix again. They are a serious attack on your digestive system, but they’re worth it!
The same day hubby prepared the batter for the oliebollen, which had to rest and rise overnight. The next day the amount of batter blew me away. Amazing! With a scoop hubby put the batter in the hot oil and after that it’s just a matter of putting them on paper towels to get rid of the access fat, put some icing sugar on them and they’re ready to eat.
You can find a recipe for both oliebollen and appelflappen HERE, the link will open in a new window, just close it to come back to this blogpost.
If you want to see more Dutch recipes, here’s the direct link to Sparky’s Kitchen.
And here are the long overdue pictures of the baking event. Enjoy!
Jan 25th, 2014 by Antoinette
With Valentine’s Day approaching I went through my Valentine’s Day Board and picked some of my favourites. I’m a procrastinator first class but I really really really want to make at least some of these 🙂
So they’re here as a reminder to myself: Start creating something!
In Holland Valentine’s Day isn’t as big as it is in the UK or US. I would never have dared to send a Valentine’s card to my Crush (yes, with a capital C), but I always liked sending gifts or cards to good friends and family members to let them know how much their friendship, support, guidance (fill in the dots) meant to me.
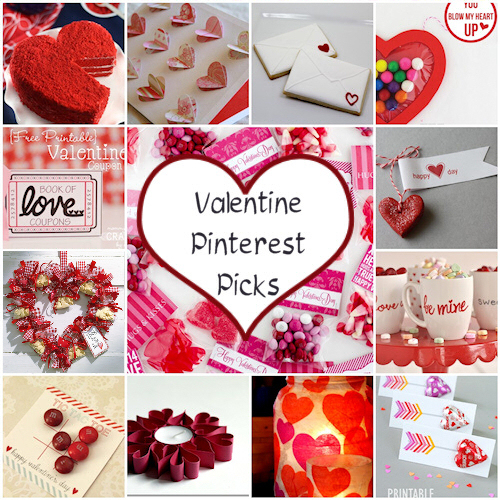


Printable Valentine Coupon Book


Valentine’s Day Treat Bag Toppers


Valentine’s Tic Tac Toe Printable


So, whether you’re creating something for your partner, your kids, friends, classmates, great neighbours, grandparents or favourite teacher:
HAPPY VALENTINE’S DAY!

